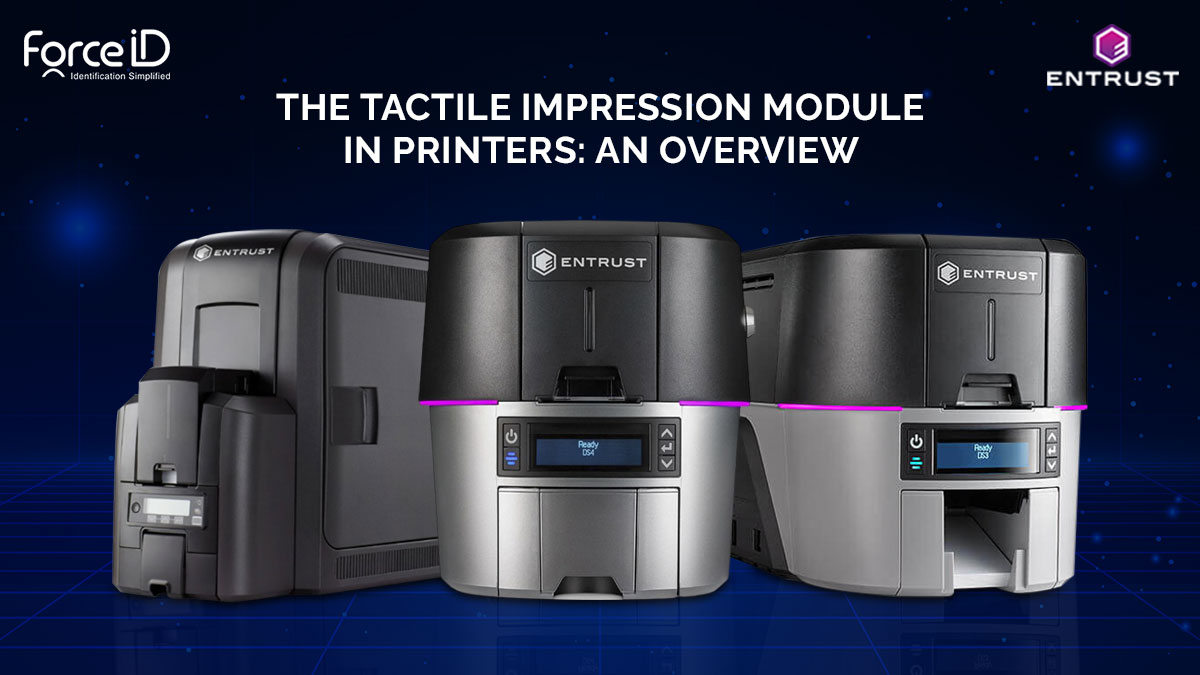
The tactile impression module (TIM) can be added to the back of a Sigma DS3 or DS4 card printer or a CR805 retransfer card printer. It allows you to place an impression on the front or back of the card. The impresser uses an installed die to stamp an impression on the card, and can use an installed foil that is fused into the impression. The tactile impresser uses heat to create the impression, and to fuse the foil to the card.
Instantly-issued ID cards are produced by the Entrust Sigma DS3 with TIM card printer at exceptional speeds and with a special security feature called colour tactile printing. Your cards are secured by features like smart card encoding and inline magnetic stripe encoding. In ID card printing, the DS3 with TIM achieves productivity and security never before seen. Sigma DS Card Printers also can place an impression on the card without using foil. Retransfer card printers always use foil when impressing a card.
When it comes to features it’s simple, secure and smart, with features like pre-loaded ribbon cassettes, we made sure Sigma was the most user-friendly ID card issuance solution in the world, from unboxing to providing ID cards and mobile flash passes to controlling your printer. Security is in the peak because every stage of the issuance process will be safe and secure thanks to our industry-leading issuance security architecture. As your demands change, you may scale your ID card program thanks to innovative technologies.
Clearance Requirements include such as the following measurements show the system dimensions when the printer input hopper, printer cover, and TIM access door are open. Best practices recommend that you provide a minimum of 3 inches (76.2 mm) of additional clearance around the sides and rear of the system to maintain access to the power cords and data cables, to load and remove cards and supplies, to allow card movement in the TIM as it impresses a card, and to provide ventilation.
When it comes to electrical requirements, the power supply detects the input voltage and works within the range stated. Input range is 100–240V/50–60 Hz/1.6Amp and Output range is 24V/3.0Amp/72W.
TIM Status light shows the indications of when it ready, busy, error and more. The solid green colour shows it become ready. Blinking green indicates the busy mode and the solid blue colour shows the system is idle/Not ready. Heating indicates the blinking blue colour and blinking red is the error indication.
The TIM structure includes with access door, supply cassette, adapter plate, connection guideposts, rear module data connection, and drive gear.
TIM Access Door: TIM Access Door The access door provides access to TIM supply cassette.
TIM Supply Cassette: The supply cassette holds the impresser foil.
Adapter Plate: The adapter plate allows the TIM to fit against the printer. Note: The adapter plate may differ from the illustrations in this guide, depending on the printer model. Any differences in procedures are described, as needed.
Connection Guideposts: The guideposts connect the impresser to the printer.
Rear Module Data Connection: The electrical connection for the tactile impression module to connect to the printer. Note: Avoid touching or jarring the electrical connection, damage to the TIM can occur.
Drive Gear: The drive gear allows you to move a card out of the impresser if a card jam occurs.
When it comes to configuration label, it is located inside the TIM on the access door. The configuration label shows the following information such as module name, serial number, configuration, part number, date and country of assembly.
The Tactile Foil Cassette is the crucial part because, the impresser connected to a retransfer card printer always must have a tactile foil cassette installed. If a cassette is not installed, message 282, TIM supply error, displays on the printer LCD.
The tactile foil cassette contains a one-time-use roll of foil.
- Open the cassette package and remove the foil cassette.
- Position the cassette as shown. Turn the upper spool to remove any slack from the foil supply.
- Open the TIM access door. Position the cassette as shown and insert it into the impresser until it clicks.
- Close the TIM access door
Set up your card design using your card production software or another application, such as Microsoft Word. You can specify your tactile impression preferences using the Card Printer Driver or your card production software. The impresser can stamp impressions on either the front or back of the card. The Card Printer Driver allows you to specify both printer and impression preferences. Refer to the XPS Card Printer Driver User’s Guide for information about setting up printing preferences and impression options
Force ID, as the leading ID Card Printer Provider in Bangalore, Chennai, Mumbai, Pune and Gujarat offers comprehensive ID printer solutions for all identification needs. Our experts are eager to assist you identify your specific printing needs and, ultimately, locate the best equipment for your company.


